
This post may contain affiliate links.
Cooking hard-boiled eggs is one of those kitchen basics that I’ve had the hardest time mastering. After extensive recipe testing, I’ve come to the conclusion that cooking the perfect hard-boiled egg is no simple task. As a matter of fact, there are way too many recipes on the Internet right now that make this task seem easier than it actually is. So today, I’m sharing a detailed process for preparing Foolproof Hard-Boiled Eggs. This process has made the act of boiling eggs 100 times more enjoyable for me, and I hope it does the same for you.
Before we get to all of that, let’s review some of the challenges associated with cooking a hard-boiled egg:
- It’s a proven fact that the moment you turn your back on a pot of hard-boiled eggs to-be, is the exact moment that the water will start boiling. So when you return from that quick trip to the bathroom or that short email break, you cry out, “Oh shit, the water is boiling.” And then you start to wonder, “How long has it been boiling? Just a minute? Two minutes? Should I turn the heat off now?” At that point, your timing is completely ruined, and all you can do is hope for the best.
- Let’s face it. Peeling hard-boiled eggs might be one of the worst kitchen tasks EVER. It’s up there with skimming fat off soup, and straining anything through a coffee filter. You stand at your kitchen sink for 5 minutes with the water running, carefully peeling the shell away from the egg. You peel a little, but then a chunk of the egg white comes off. You peel a little more, hoping that no egg will come off, but then more white breaks away. You repeat this process until your egg looks like it suffered a shotgun wound at nearly point blank. Then you look beside the sink to see you still have 11 more eggs to go. Womp womp.
- So finally you get to the point where you can eat one of your hard-boiled eggs, and you cut it open to find a powdery, grayish-yellow egg yolk. AND it smells like sulfur. YUM!
These challenges have kept me from cooking hard-boiled eggs over the years, only making an exception for the occasional deviled egg. But last year, I tackled these challenges with vigor, eventually leading to the process outlined below. Continue reading for more details.

Let’s start with the eggs. I’m using regular grocery store eggs here. No fancy organic ones. It’s best if your eggs are a week old. Why you ask? As time passes, the acidity level of the egg white decreases. If the acidity level of the egg white is high, it will bind with the surrounding skin during the cooking process, making it difficult to peel. If the acidity level of the egg white is low, the connection between the egg and the skin will be looser, making it easier to peel. It’s for this reason that I also add a little baking soda to the cooking water. Baking soda reduces acidity.
In addition to using week old eggs, I also poke a tiny hole in each egg to help with the shell-removing process at the end. I like to use a small T-pin that I’ve sterilized on the stove top, then cooled under running water. Using a pin, pierce the flatter part (the bottom) of each egg just through the shell (not all the way into the egg). I find that the eggs that have been pierced are easier to peel.
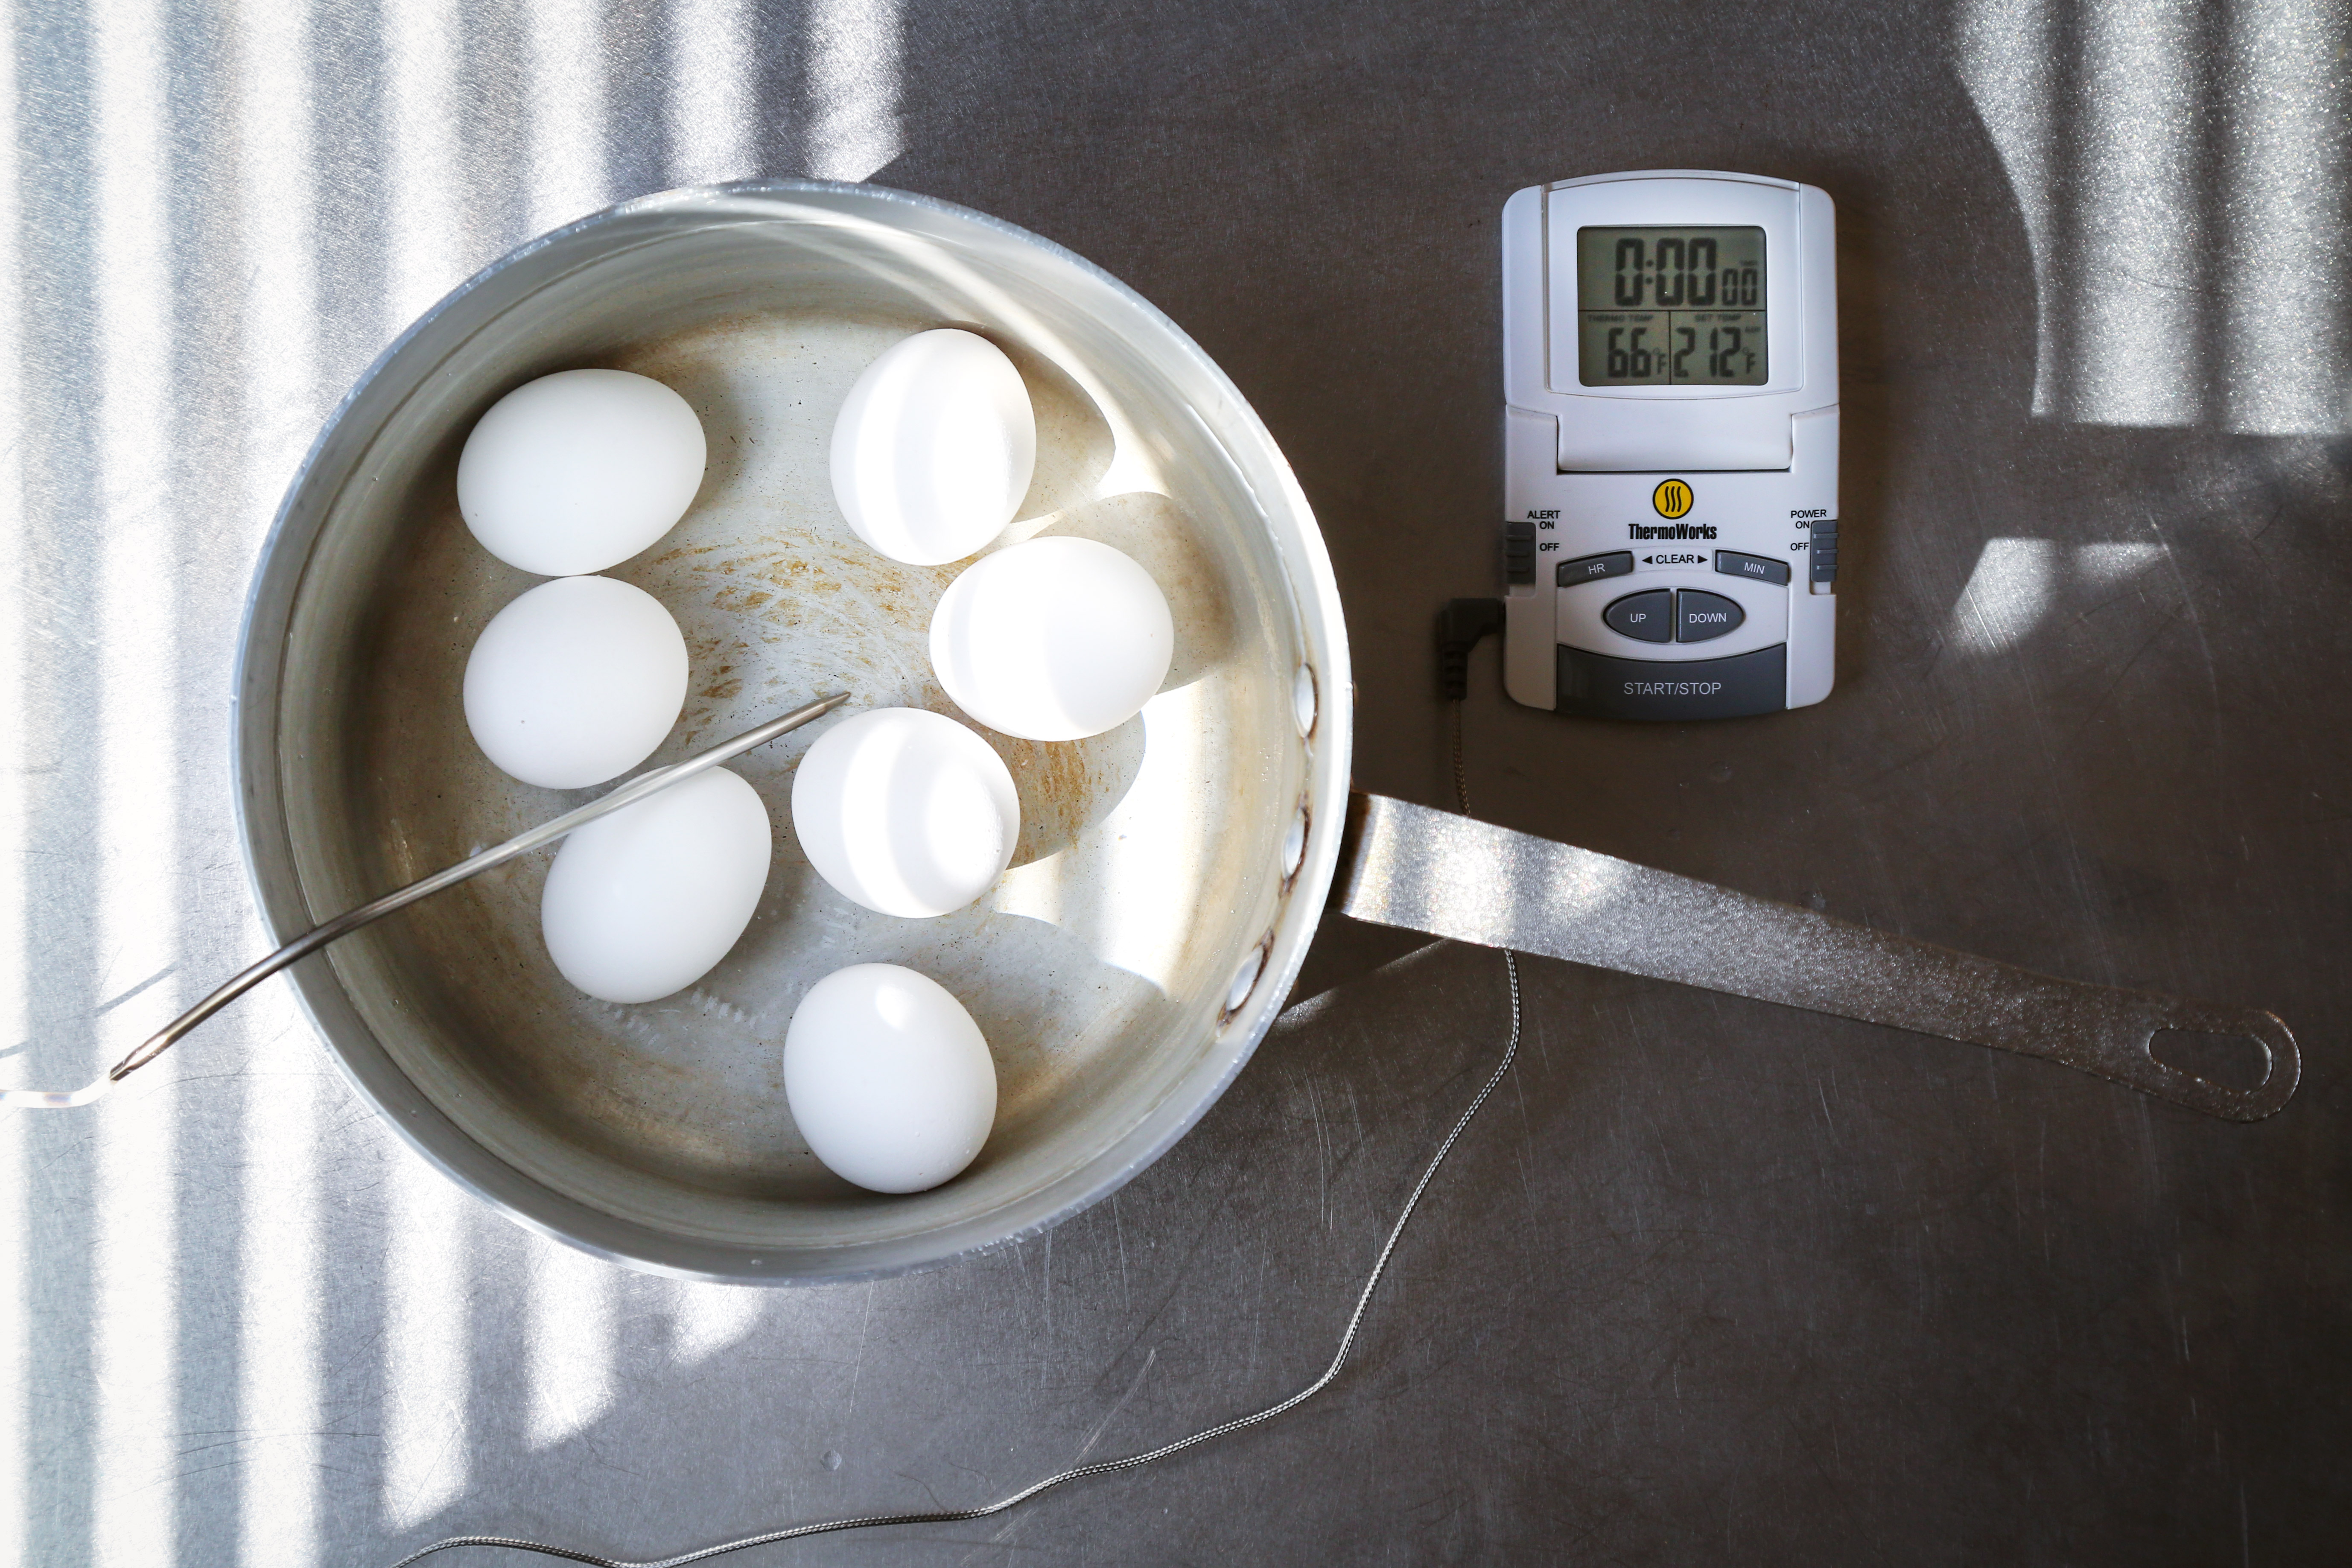
Next, the boiling process. Add the eggs to a medium-sized saucepan, and cover with cold water an inch above the eggs. Yes, I use a tape measure to figure this out. Put the saucepan over a medium-high flame, and place the tip of a probe thermometer into the water. Water boils at 212°F, so set your thermometer to sound the alarm at 209°F. I like to give myself a little time get to the kitchen, and prepare for the next step. As soon as the water starts to boil, set a timer for 1 minute. The moment that minute is up, take the saucepan off the heat, cover, and let sit for 8 to 10 minutes. Timing will depend on the type of pan you use. I’d recommend 8 minutes the first time you try this. If the yolks are still a little squishy, try 9 minutes on your next batch.
Using a probe thermometer to boil eggs may seem a bit over-the-top, but it completely eliminates challenges #1 and #3 above. You will never over-cook an egg again. If you don’t have a probe thermometer, you should just get one. They are also handy when trying to figure out the doneness of a piece of meat or when sous viding at home.
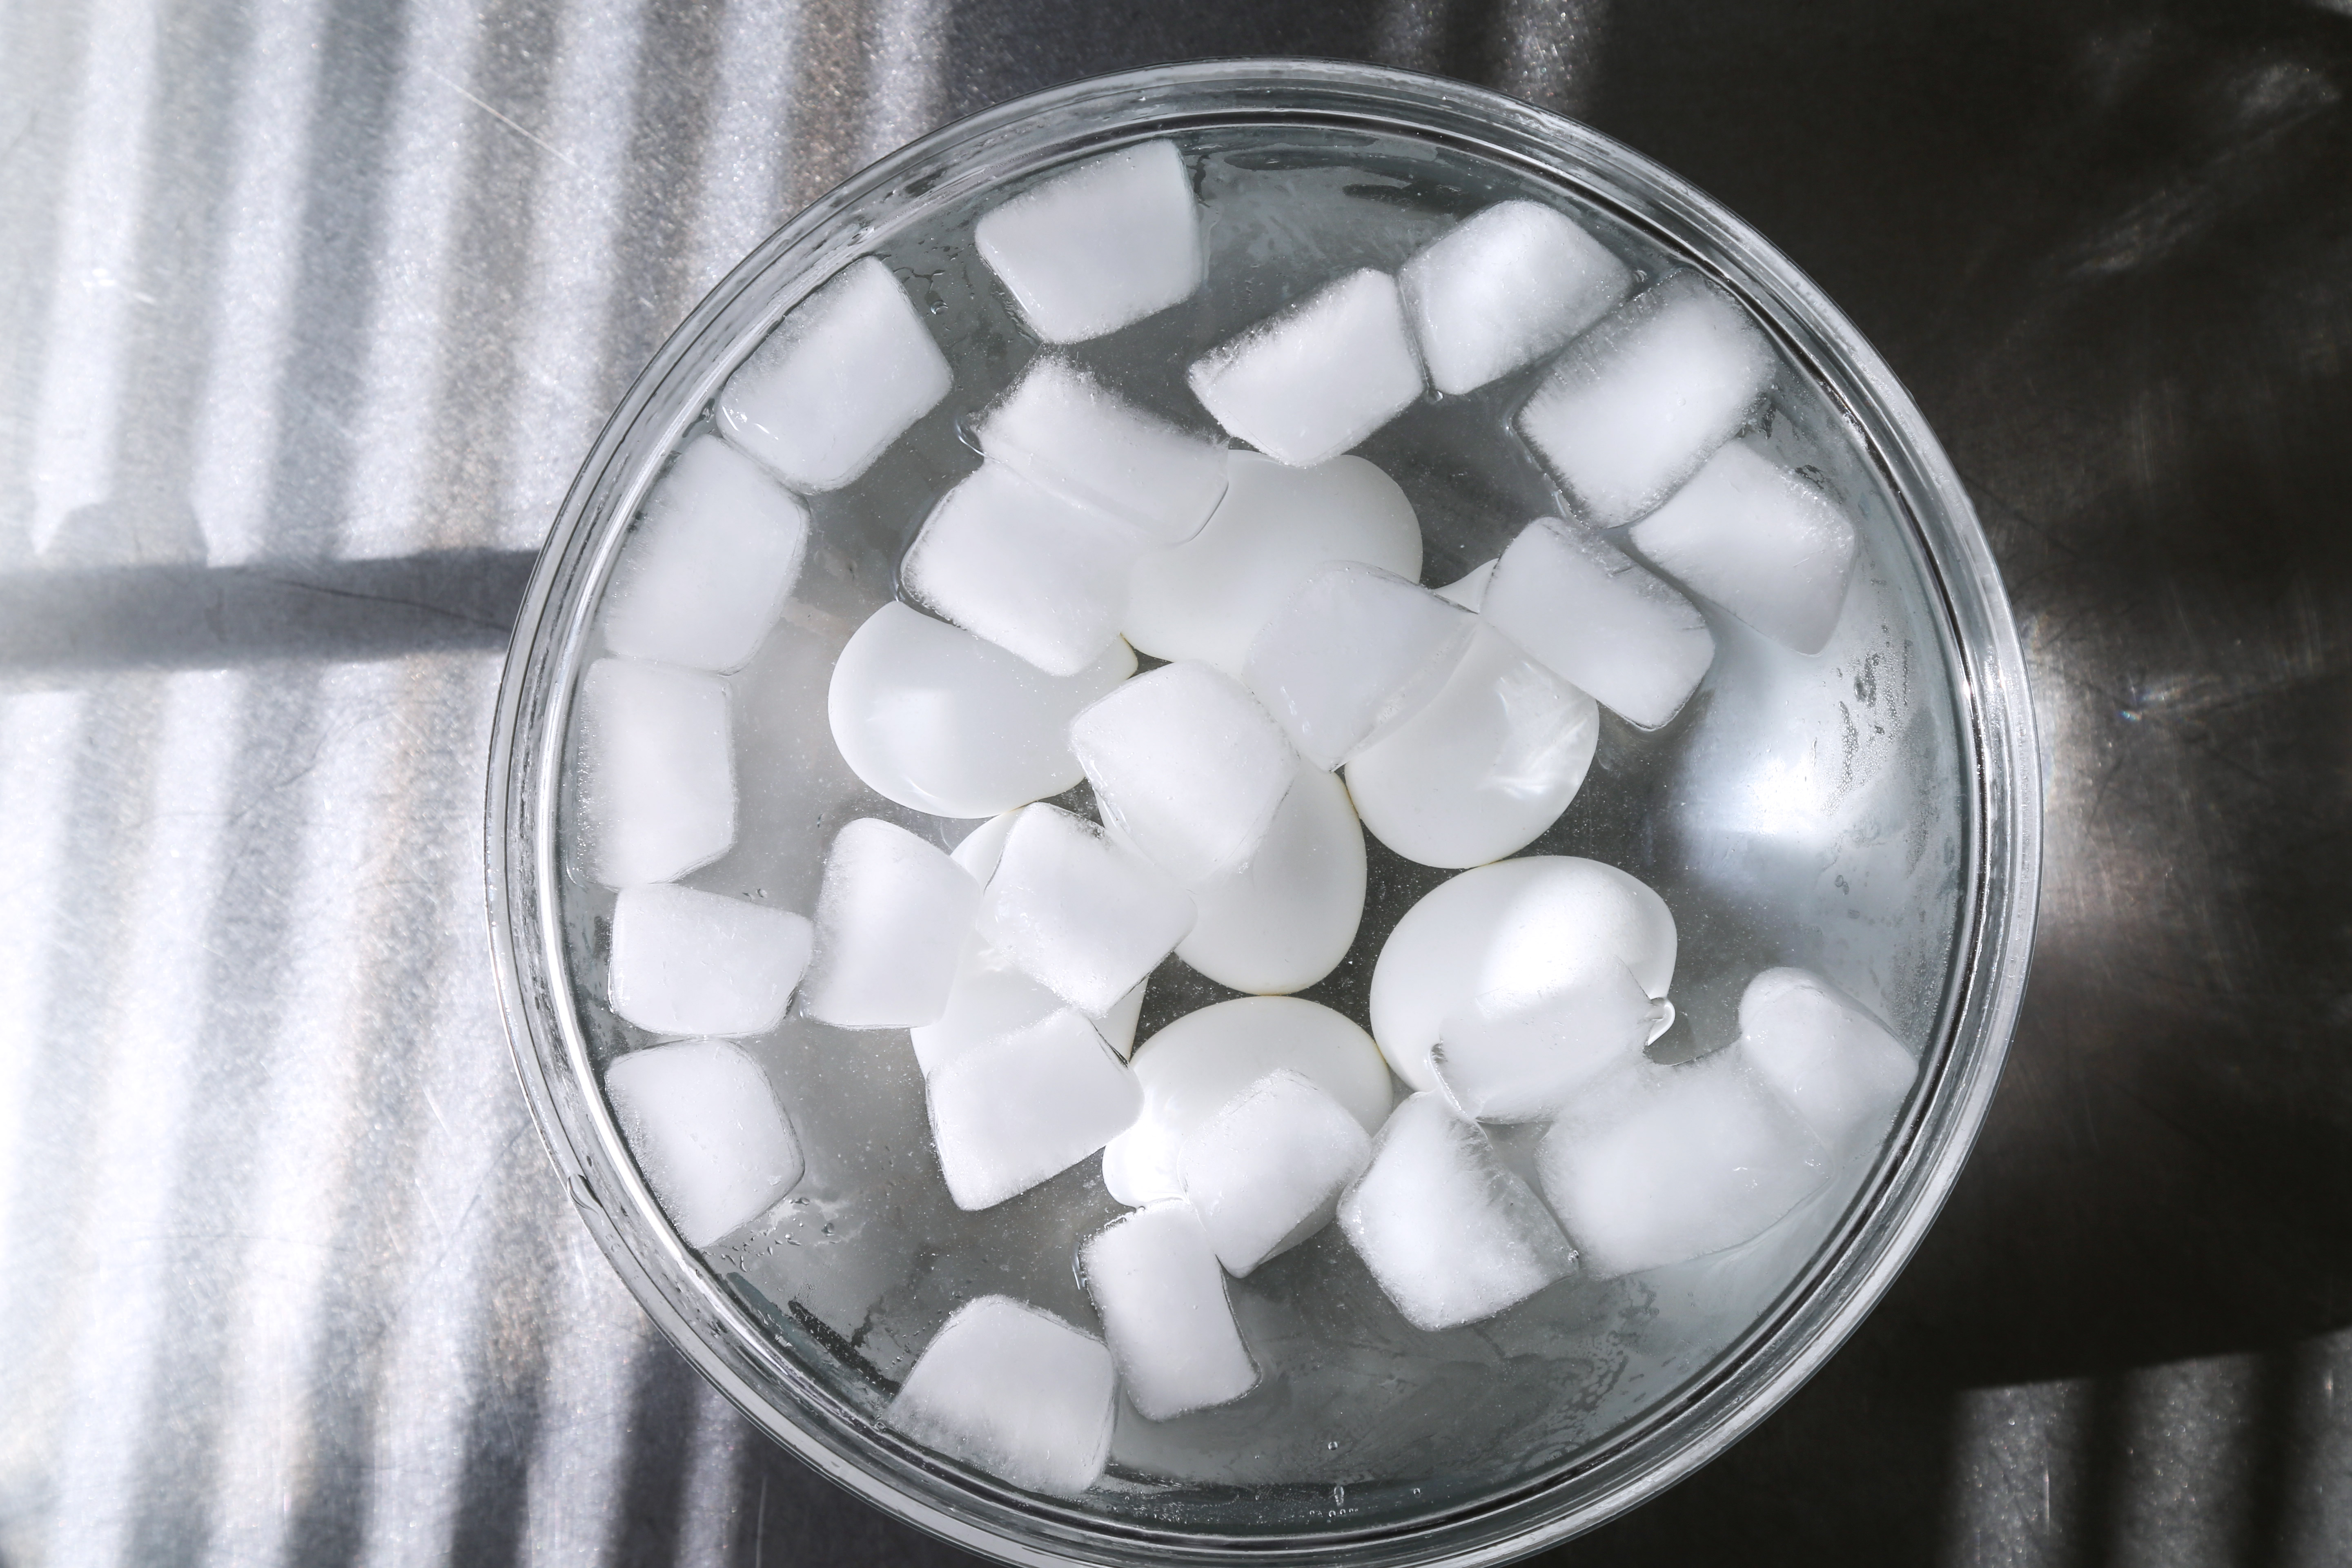
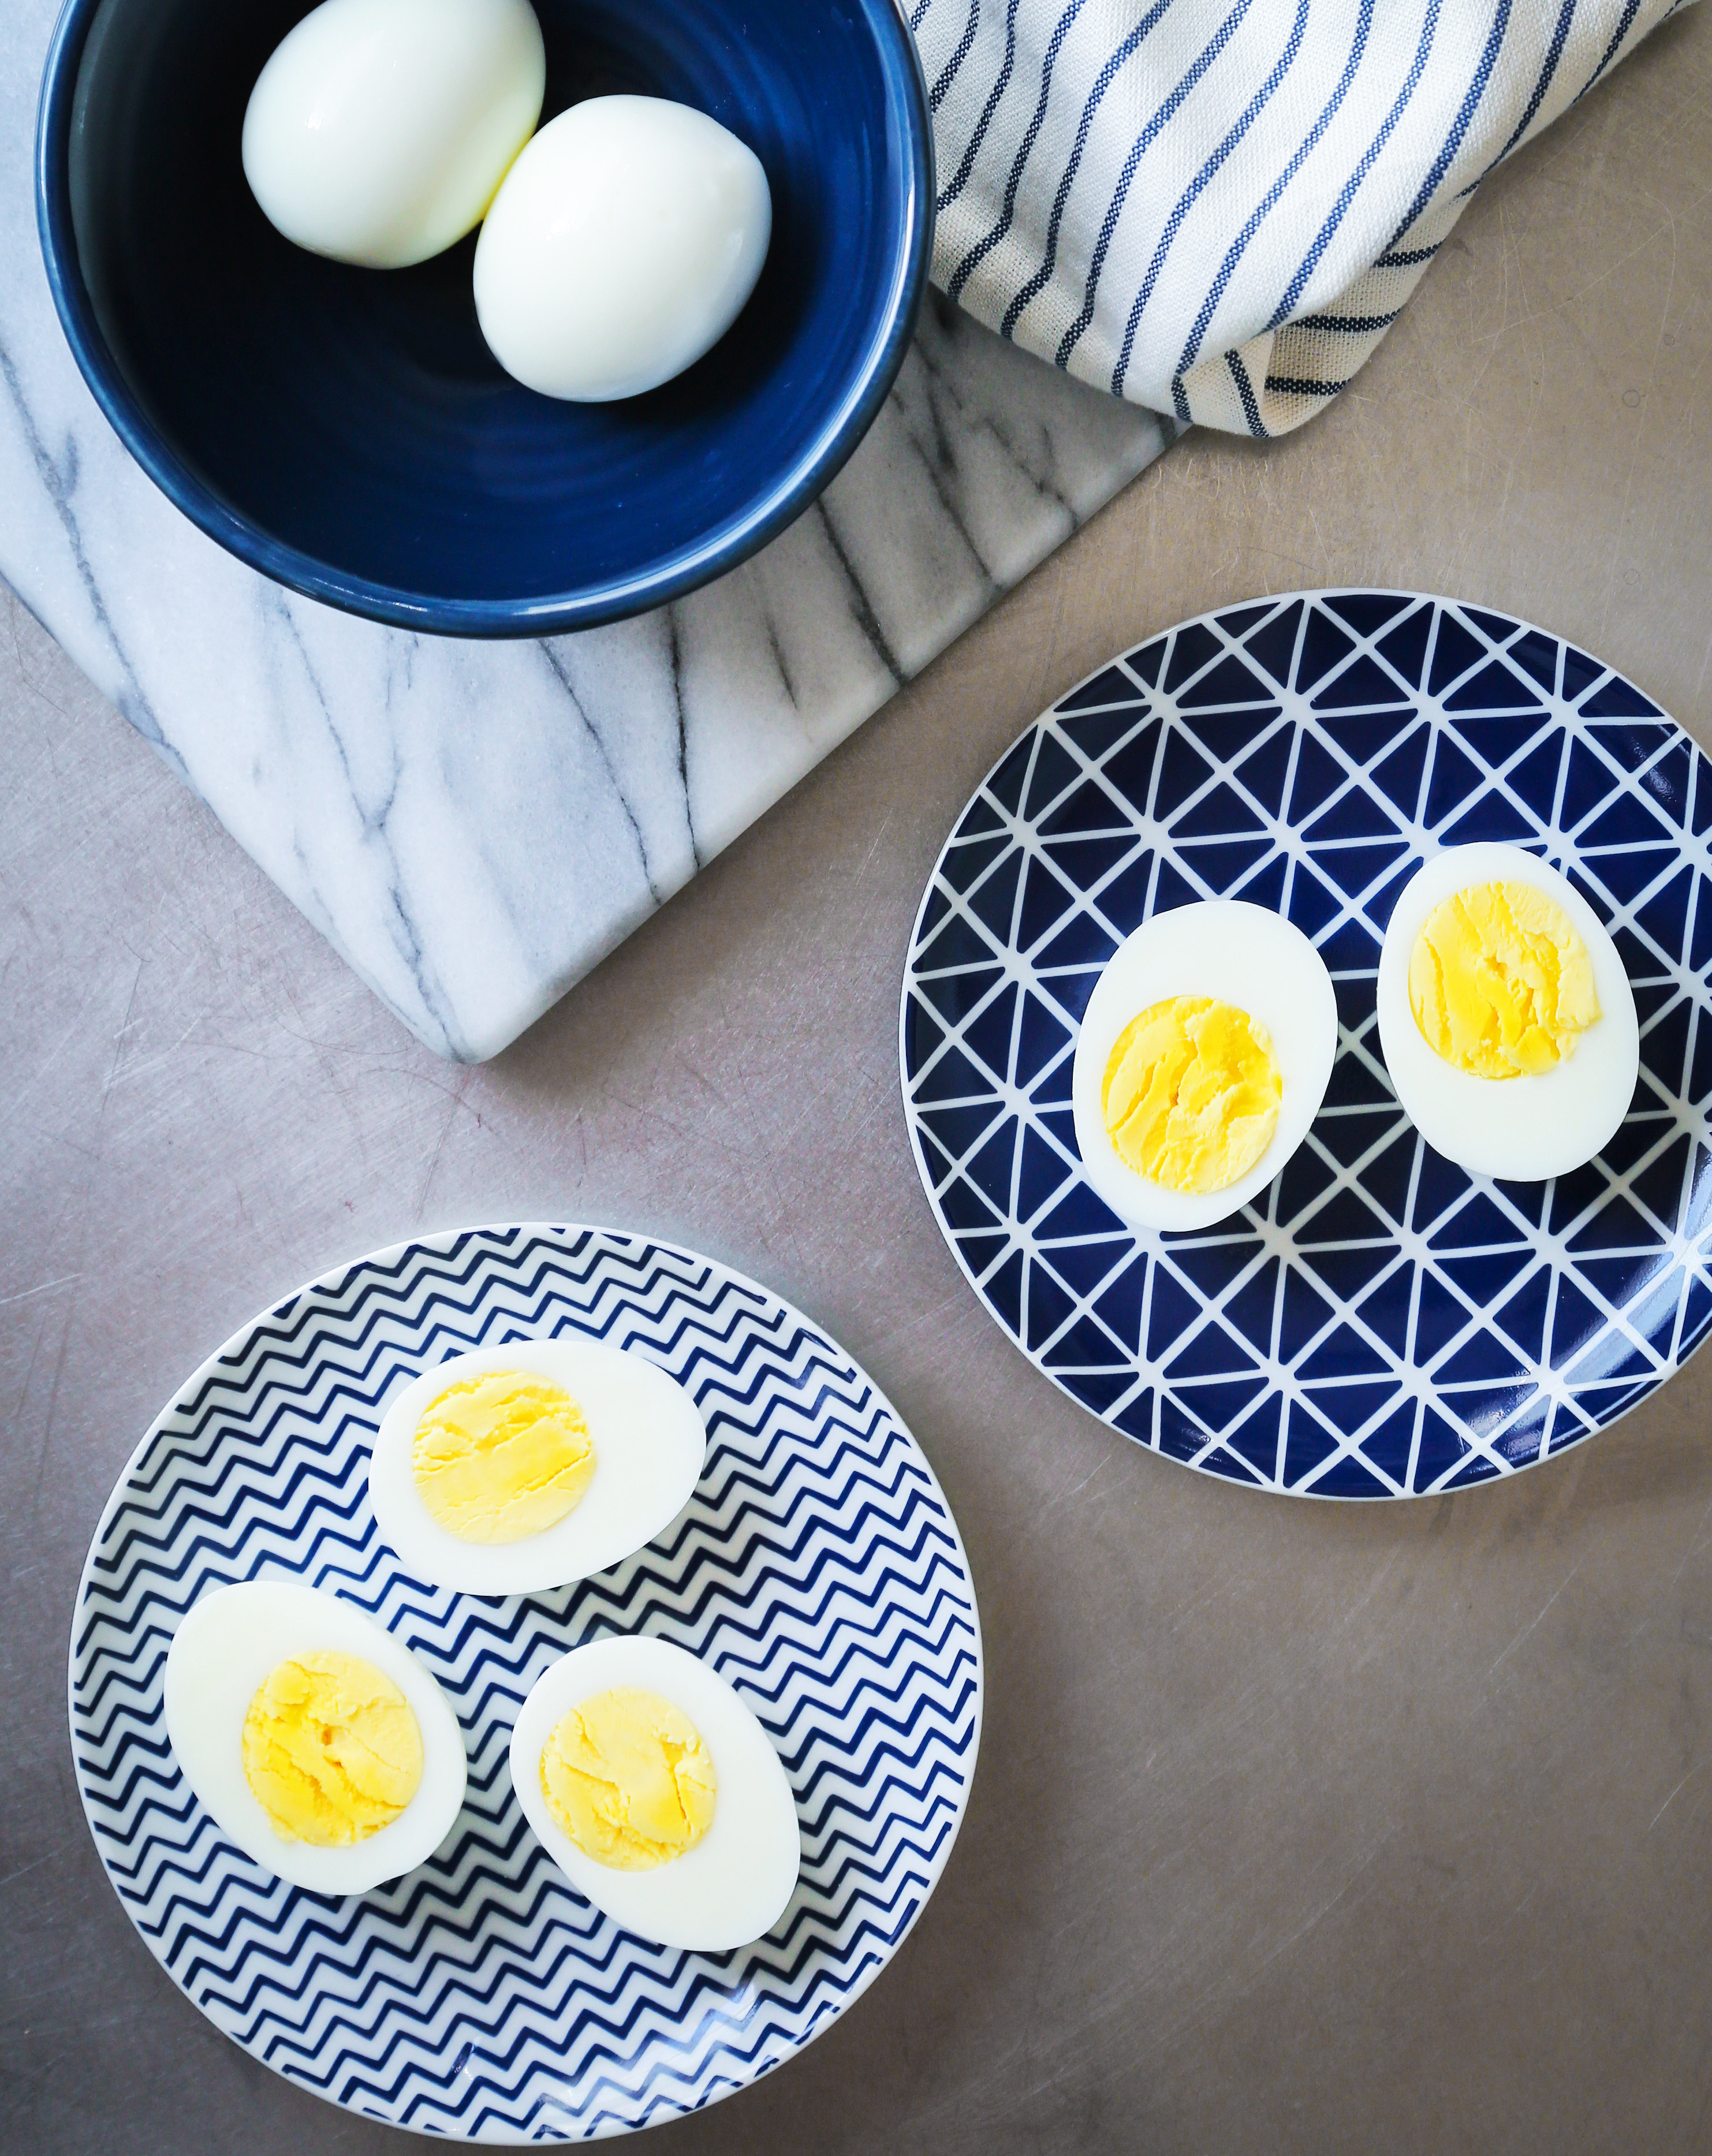
Once the 8 – 10 minutes are up, I quickly transfer the eggs to an ice bath to stop the cooking process. After a 5 minute wait, I am able to peel each egg quickly and with ease. No gash marks on the egg. No waterlogged, irritated finger tips. Just pure hard-boiled egg perfection.
Foolproof Hard-Boiled Eggs
Ingredients
- Eggs, preferably over a week old
- 1/2 teaspoon baking soda
Instructions
- While the eggs are still in the carton, pierce the flatter end of each egg (the bottom) with a sterilized pin. Only go through the shell, not into the center of the egg. Place eggs in a single layer at the bottom of a medium sized saucepan, and sprinkle with baking soda. Cover the eggs with cold water by an inch.
- Insert the tip of a probe thermometer into the water, and set the alarm for 209°F. Bring the eggs to a boil over medium-high heat. The thermometer will sound the alarm when the water is about to come to a boil. Let boil for 1 minute, then immediately take the saucepan off the heat, cover, and let sit for 8 - 10 minutes.
- While the eggs are resting, prepare an ice bath (a medium bowl filled with ice and water). Scoop the eggs from the saucepan into the ice bath, and let sit for 5 minutes. Peel eggs under cold running water, returning each peeled egg to the ice bath. Discard shells. Let eggs sit in the ice bath until completely chilled. Store in the refrigerator in an airtight container for about 1 week.

I’m Brandon: food explorer, recipe curator, cocktail shaker, dessert lover. Kitchen Konfidence is how I document my time spent in my favorite space, the kitchen. Did you make a recipe? Tag @brandiego on Instagram so I can see the how it went!


pepe says
did you ever think of putting the eggs into the water when the water starts boiling instead of when its cold? i never have a problem cooking eggs whatever temperature u want them and hard, soft joke, runny or whatever… the countdown starts when u put them in.
what you are describing here sounds more like how to build a missile rather than a simple cooking hard boiled eggs.
Brandon Matzek says
Hi pepe, if you put the eggs in boiling water, the outside will cook faster than the inside. Bringing the eggs up to temperature with the water will ensure even cooking.
The process I’ve outlined here may seem in depth, but it really doesn’t take that much more effort than other methods. And it will produce consistently good results every time. Not much room for error here.
Cory says
Thanks Brandon. Once again you’ve taken all the hassle out of something. I’ve had the same problems that you’ve had over the years. I was told by some woman from CT (who will remain nameless) to use fresh eggs, but I should have listened to my mother (and you) instead and used older eggs. Mom also said not to worry about how long the eggs boil. She boils them for several minutes, then cools them, and peels them and always has perfect eggs. I like your method of using the thermometer. It’s an indispensable kitchen tool.
Brandon Matzek says
Thanks Cory! Yeah it seems like everyone has their own method, but I’ve found this one produces consistently good results.
John says
As a microbiologist, I’m not sure why you sterilize the needle since boiling the eggs will kill what few microbes there might be on the needle. However, I guess if you feel safer doing it, it doesn’t do any harm.
mike says
I agree. And I’d just like to say that it’s the first time I’ve ever read a post that’s starts with “as a microbiologist ” lol!
Brandon Matzek says
Haha, me too!! But that’s ok. I welcome his professional feedback 🙂
Brandon Matzek says
Thanks for the info John. I guess that extra step does make me feel a bit safer 😉 And it only takes a few seconds to complete.
steve says
Using a spoon to peel the eggs is a simpler and faster method. Crack up the entire shell first, dampen the spoon and slide the spoon between the shell/membrane and the egg and peel/separate.
Brandon Matzek says
This is a great tip! I’ll definitely try using a spoon the next time.
mike says
I’ve just used this method. As an ex pro chef my eggs shouldn’t be too bad already, but in truth I still get my crator shaped ones. However, I can vouch for this method. It works a treat and really speeds up peeling.
Coyotekit says
I like my Technique pressure cooker for 6 minutes, then cold bath (the eggs, not me)
perfect and easy to peel. thanks
Maurern jaeckel says
Why baking soda?
Brandon Matzek says
Baking soda reduces the acidity of the egg whites, allowing them to more easily release from the shell.
Dianna says
As somebody who has forgotten a pan of eggs, and had to clean them off the ceiling – I strongly recommend using a timer. I put the eggs into heavily salted water (but will try soda next time) and bring up to a boil over medium heat – while the timer is counting down ten minutes. Another reason to bring the eggs to temp with the water is that it prevents cracked, leaking eggs from expansion too quickly.
From there on, I follow the same timetable. I once saw a tip to drain the hot water off the eggs, add ice cubes and shake the pan around vigorously to crack the shells, then fill with water and let them chill. The shells almost fall off.
sbobet says
Thank you for sharing your info. I really appreciate your efforts and I will be waiting for your next write
ups thanks once again.
Clint F says
This method was used to the letter and these were the hardest eggs to peel that I have ever peeled. This method SUCKS!!! I would not recommend I will be looking on better sites for better advise. What a waste of time!!!!!
Brandon Matzek says
Hey Clint! So sorry this didn’t work out for you. I’ve had a lot of success with this method, so I’m not sure what went wrong. If you’ve got a pressure cooker, this method is also really good: http://ruhlman.com/2012/02/the-egg-and-the-pressure-cooker/