
 Each month, there are several questions that I find myself repeatedly answering like:
- How did you start your food blog?
- How do you drive traffic to your blog?
- What types of camera equipment do you use?
So I’ve decided to put together several resource pages to help anyone who is looking to start their own food blog. And let me start by saying, it’s easy! Before we dive into the 5 simple steps to start your own food blog, I want to share some motivational advice that helped me out tremendously in the beginning, and it continues to push me forward in this food blogging journey.
Three words: Just do it.
This advice may seem ridiculously simple, but let me explain. Sometimes we can get so wrapped up in our thoughts, worries and insecurities; bogged down with details, options and expectations; until eventually we get overwhelmed by the sheer magnitude of a project, and as a result, we give up on it. This was me back in the 2000’s. This was me until I decided to just start doing. Bit by bit, I taught myself how to take compelling, well-composed food photos, I designed Kitchen Konfidence, and I launched my blog in July of 2010. You’ll make mistakes (I still do). You’ll give up on perfection (I did long ago). But in the end, everything works itself out. With several years of blogging experience under my belt, I say to you: Don’t wait. Don’t hesitate. Just do it.
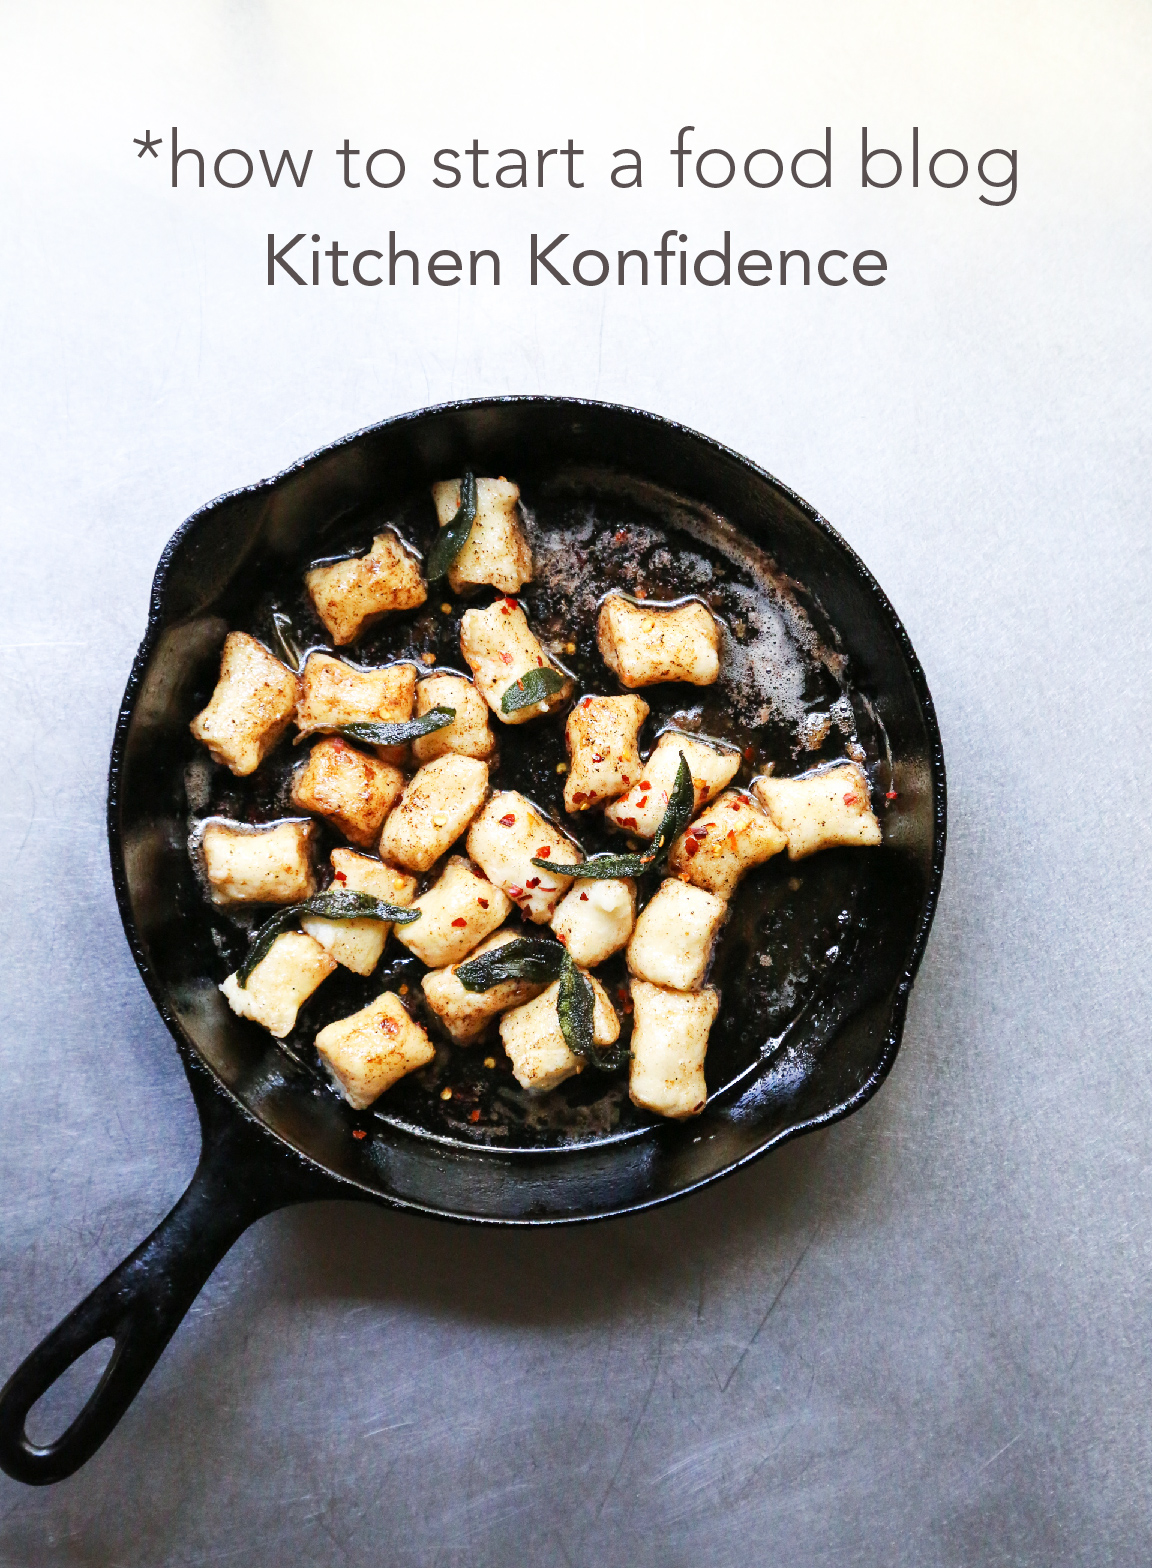
How to Start a Food Blog
Here’s how I got my own blog started:
1. Domain Name and Web Hosting
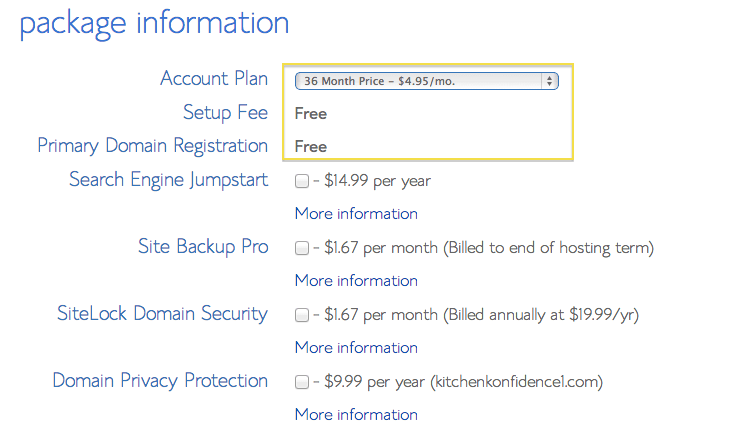
First things first, select a name for your blog. Don’t overthink this. Once you’ve got a name (or two or three) in mind, visit Bluehost to check domain name availability:  Now that you’ve got a domain name selected, you’ll need to secure it. You can purchase your domain name from GoDaddy or get one for free with Bluehost when you sign up for one of their hosting plans. When I first started Kitchen Konfidence, I went with GoDaddy, but Bluehost is definitely a good option too. Next, you’ll need to host your domain name. I personally use Bluehost. Bluehost is cheap (some plans start at $4.95 per month), reliable, and their customer service team is top notch. When I first started Kitchen Konfidence, I signed up for their cheapest plan. As my traffic started to grow, I upgraded to a premium Bluehost plan. I would highly recommend Bluehost for anyone looking to start a food blog.
2. Blogging Platform
WordPress, the blogging platform I use for Kitchen Konfidence, is simple to install, use and customize. It’s really the best option out there. If you’ve decided to host your blog with with Bluehost, check out this video on how to install WordPress:
3. Design and Theme
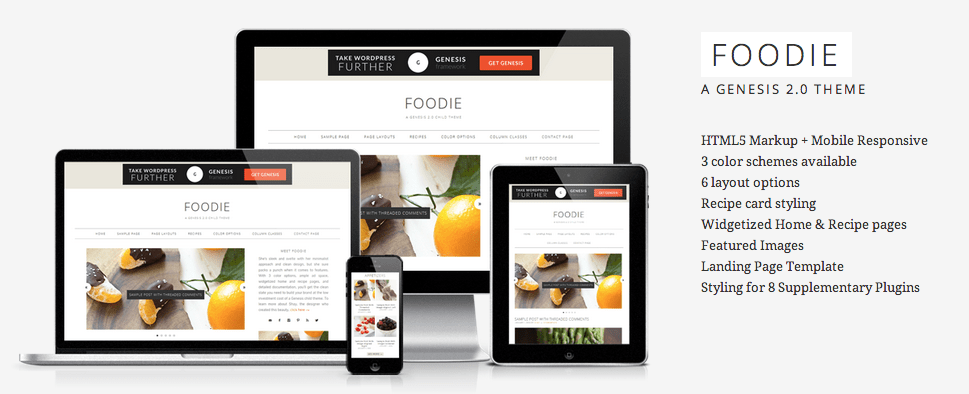
When I first launched Kitchen Konfidence, I designed my own WordPress theme. Looking back, I wouldn’t recommend doing this unless you are a web design professional. I taught myself some basic web design skills; however, this knowledge faded over the years, and I lost the ability to upkeep and troubleshoot my own design! Now, I am happily using a premium WordPress theme, and I’d definitely recommend going that route to all beginners. There are many options out there, but here are my recommendations:
- The Genesis Framework provides a solid foundation for your design. It’s easy-to-use, secure, well-supported, and highly customizable. After you install the framework, you’ll need to also install a Child Theme to make things pretty.
- StudioPress Themes has a wide-variety of Child Themes available, including the Foodie theme that I use for Kitchen Konfidence.
- Elegant Themes is another reliable collection of premium WordPress themes, and comes highly recommended by several of my blogging friends.
- If the premium theme route is not within your budget, you can always browse this collection of free WordPress themes. But I would really recommend going the premium route if you can. It’s not that expensive, and your final blog design will look much better.
4. Google Tools
Before I dive into the next section, I wanted to stop and say, “Congratulations!!!!” If you’ve been working through this process, then you’re officially the proud owner of a brand new food blog!! Yay!!
The final two sections of this guide will help you supercharge the blog that you’ve so thoughtfully crafted thus far. Let’s start with three of my favorite Google tools:
- Google Analytics. Knowledge is power. Google analytics will give you all the information you need to know about your readers and their behaviors.
- Google Webmaster Tools. This resource will help you with SEO, while monitoring your site for errors and issues.
- Feedburner. This tool makes it easy for your readers to subscribe to your RSS feed. You can also track RSS subscribers here.
5. WordPress Plugins
Here is my list of my top WordPress Plugins (in no particular order):
- Easy Recipe Plus. A must-have for any food blogger. This plugin allows you to easily add recipes to your articles, formatted in a way that Google can recognize.
- W3 Total Cache. Caching helps speed up your blog.
- Jetpack for WordPress.com. A robust plugin with many interesting features.
- Askimet. Helps to block comment spam without the use of CAPTCHAs. CAPTCHAs are the worst, and you should never have them on your site. Use this plugin instead.
- Comment Reply Notification. This lets your readers know that you’ve replied to one of their comments. Crucial.
- Pinterest Pin It Button For Images. Aside from Google, I get most of my traffic from Pinterest. This plugin makes it easier for visitors to pin images.
Conclusion
Well that’s it! I really hope that these 5 steps help you start your own food blog. Once you start working through each step, you’ll be amazed at how easy the process is. So stop waiting, and just do it! If you have a question that I didn’t answer in the instructions above, please email me at brandon [at] kitchenkonfidence [dot] com. Thanks and enjoy!
Disclaimer: Some of the links throughout this article are affiliate links. Each of the services, tools and plugins I’ve described in this article are ones I am currently using or I’ve used in the past. I only link to products that I trust, and would highly recommend. Thank you!